.png)
Manage Your Company
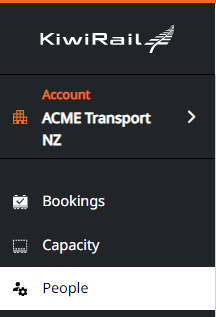
If you’re a company admin, you have access to approve new users and manage their permissions. Click People in the menu bar to open the manage users screen.
Check out the articles below to learn how to manage your team’s access.
When users request access to your company, you need to approve their access and provide them with permissions.
How-To Approve User Access
All company admins are notified by email when someone has requested access to your company account. Follow the guide below to approve their access:
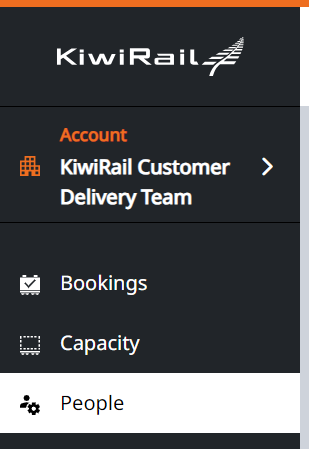
Go to the admin section of the portal by clicking the “People” button in the menu.
You will see the user’s status as Pending Approval with Approve and Decline buttons:
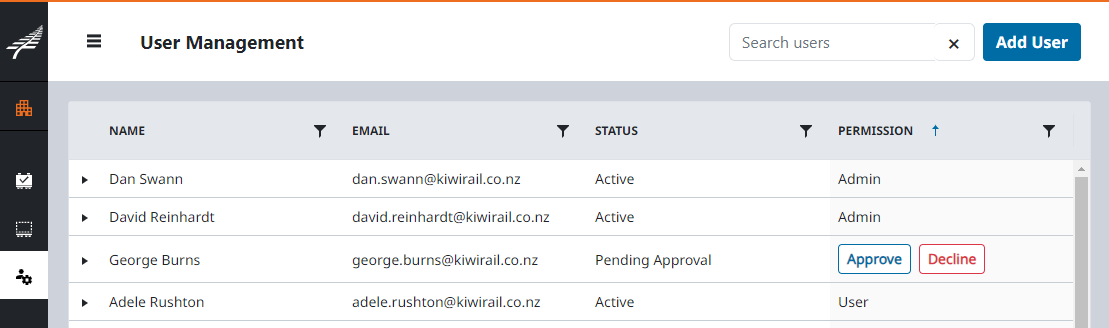
If you know the user who’s requesting access and you want them to be able to access your company account, click Approve.
If you don’t know the user requesting access, or you don’t want them to have access to the company account, click Decline.
Once you approve the user, you can expand their details and manage their permissions.
Once you’re happy with the permissions you’ve assigned, click Save changes.
In order for your team to access your company account on the portal, you will need to approve their access and provide them with permissions.
How-To Manage your Teams Permissions
Go to the Admin section of the portal by clicking People on the left.
Click the checkboxes to assign the 4 different permissions:
Book - Enables Create, Edit, Cancel & View booking for the freight payer code.
Check In - Enables View & Check In for bookings in your dashboard.
Upload DG - Enables View & Document Upload for bookings in your dashboard.
View Only - Enables View Bookings and Capacity..

Click on the edit button next to User Type to change between the 2 user types.
User: Standard access to your company.
Admin: Ability to assign permissions and approve other users.
Once you’re happy with the permissions you’ve assigned, click Save changes.
How-To Pre-Approve User Access
All Company admins are able to Pre-Approve users in the Manage Users screen.
Go to the Manage Users Screen by clicking the “Manage Users” button in the top right corner of the portal.
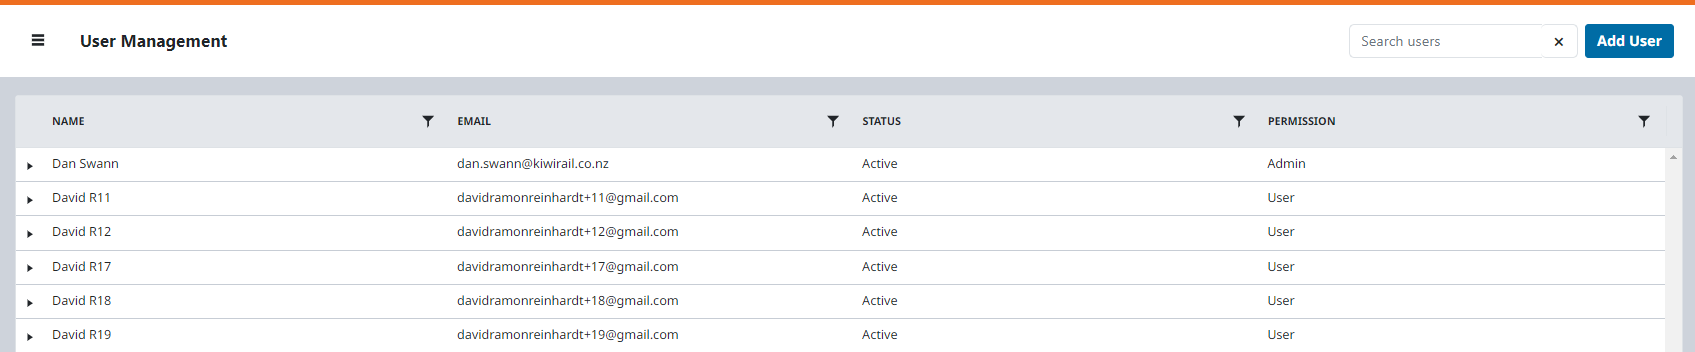
Click on the blue Add User button:
Click on the + Add new user button and then enter your team’s details.
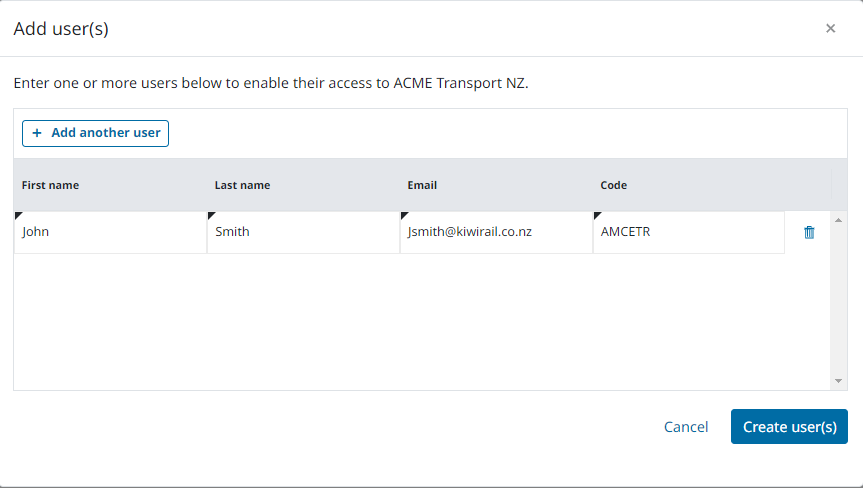
Once you’ve added the details and selected the Freight Payer, click the orange ✓Update button.
If you have multiple users to add, click Add New User again and add more details. You can add up to 50 users at a time.
Once you’ve entered all your user details click Create user(s) to create the accounts. Do not close the page until the loading symbol stops spinning.
This process will Pre-Approve your team’s user accounts so that you don’t need to approve them when they sign up. It does not create their accounts for them, because they need to enter their password.
We don’t recommend using shared team email addresses (Eg IMEX@KiwiRail.co.nz) because then anyone can log into the account and reset the password.
You also won’t have visibility of who has made/changed bookings, and you lose the personal customisation of columns on the dashboards.
Remember: If you don’t see “People” in your menu bar, then you aren’t a company admin. Every company has at least 1 admin.